魔兽,怀旧一下
Posted

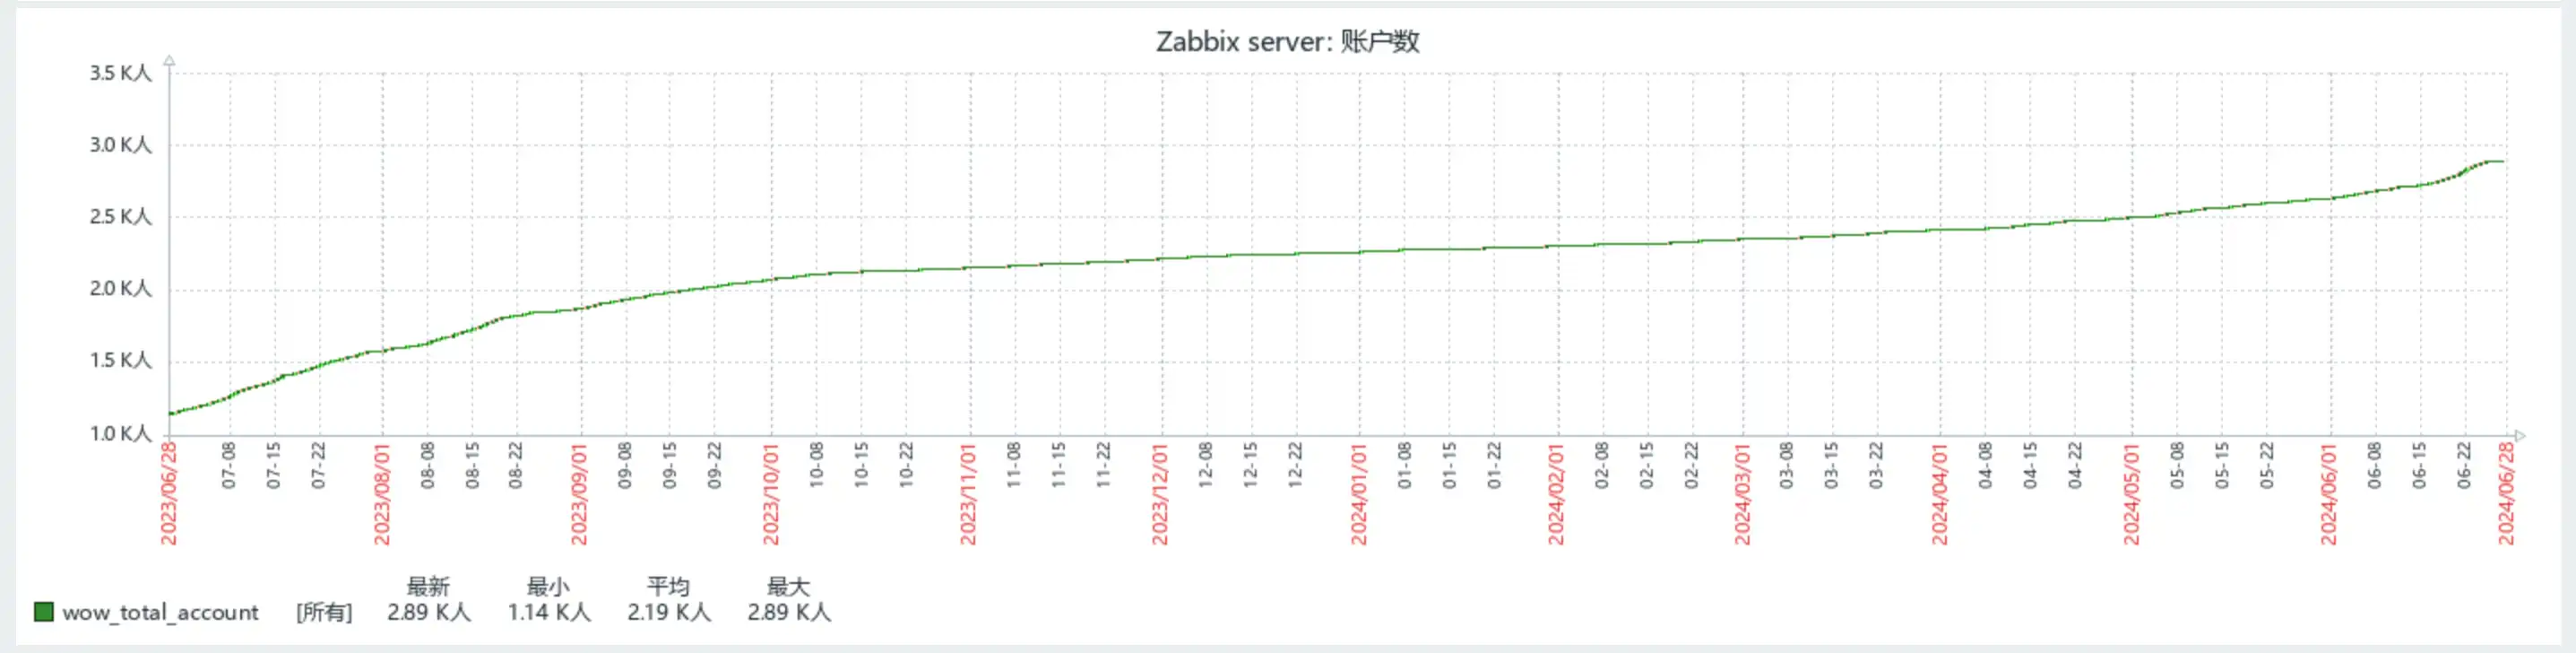
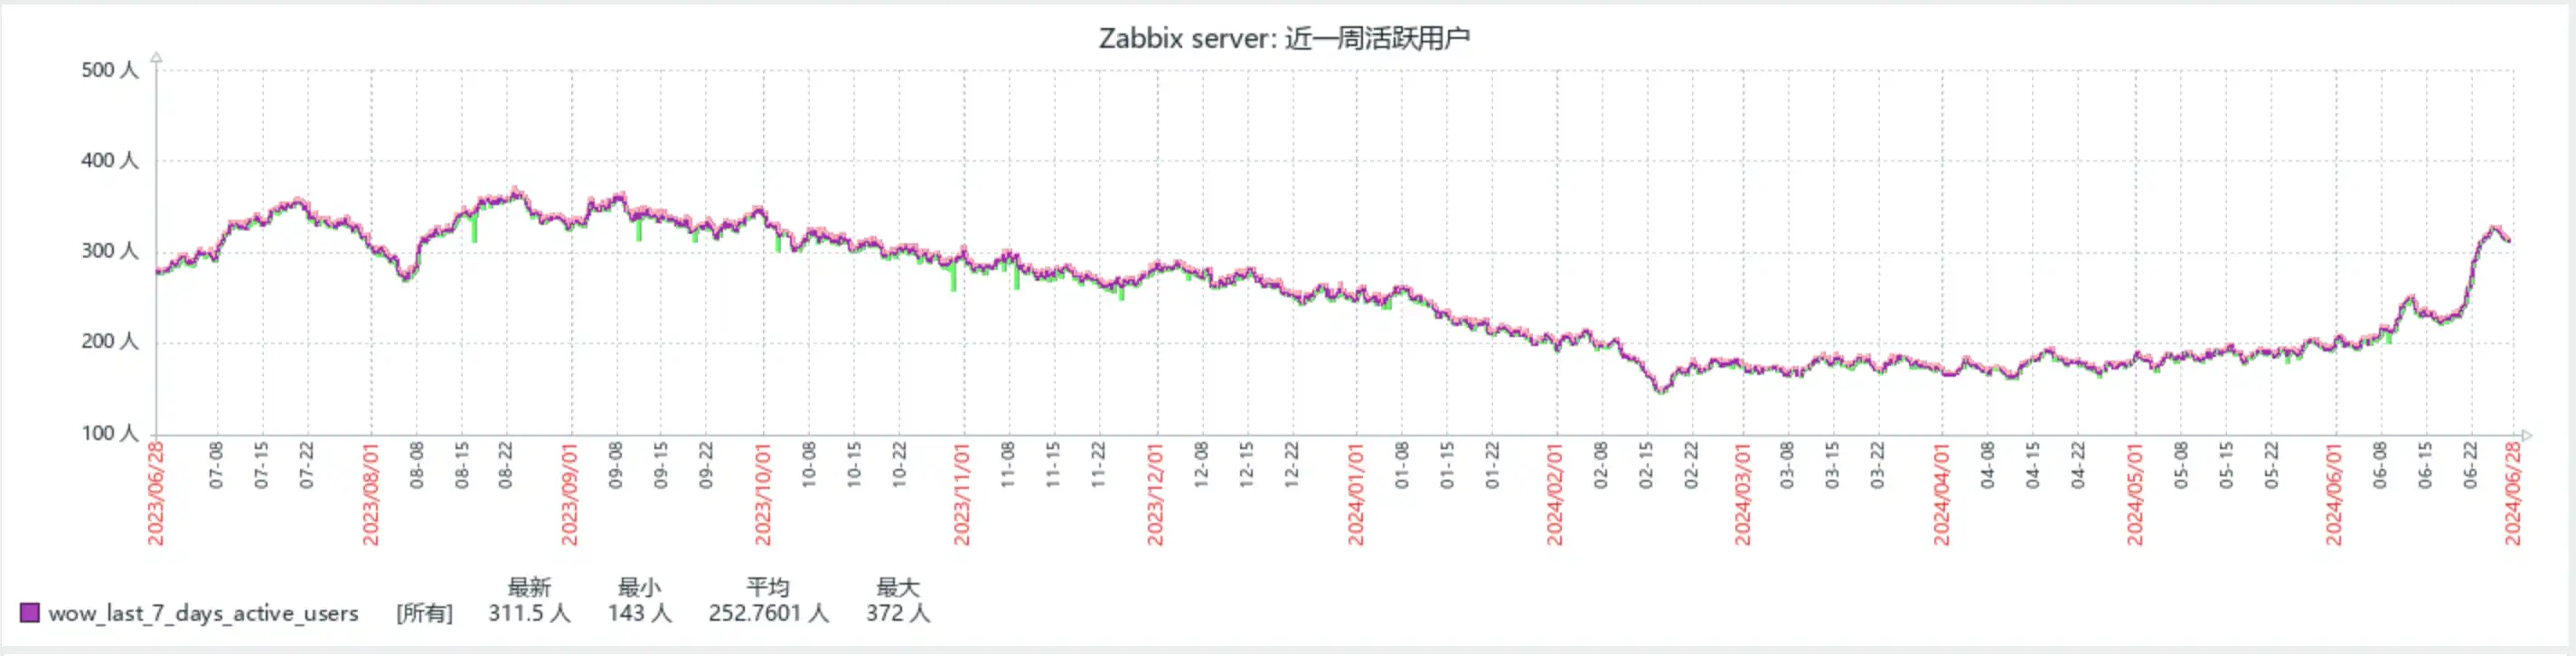
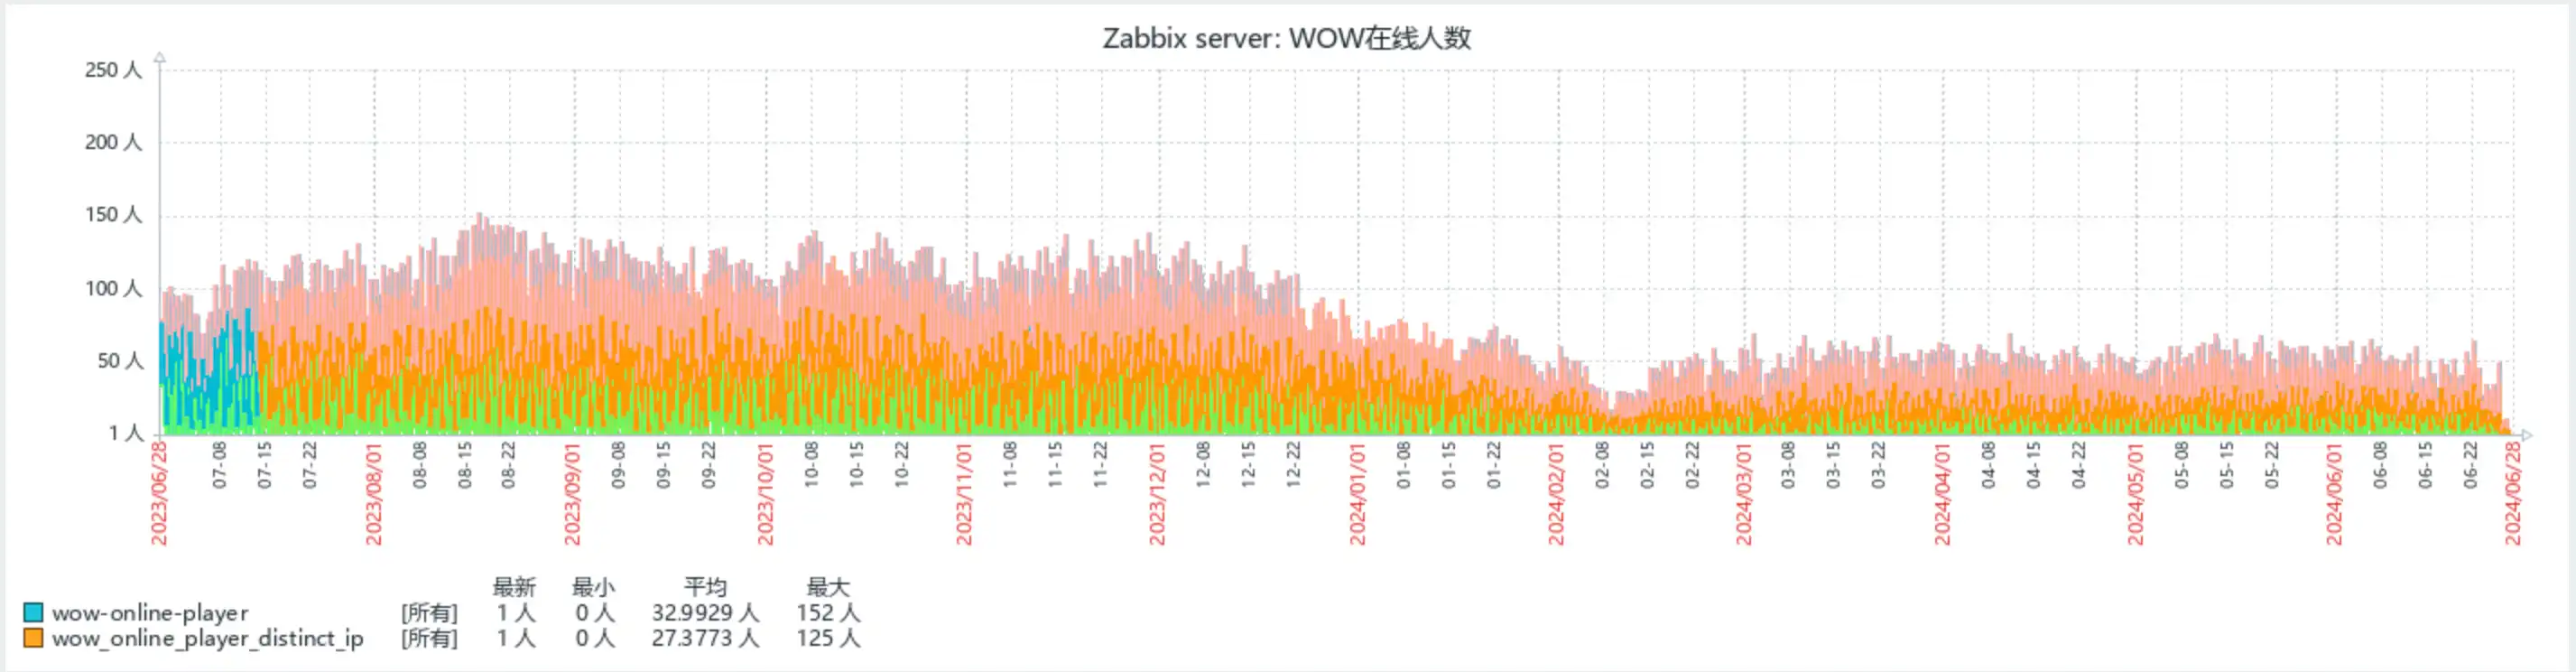
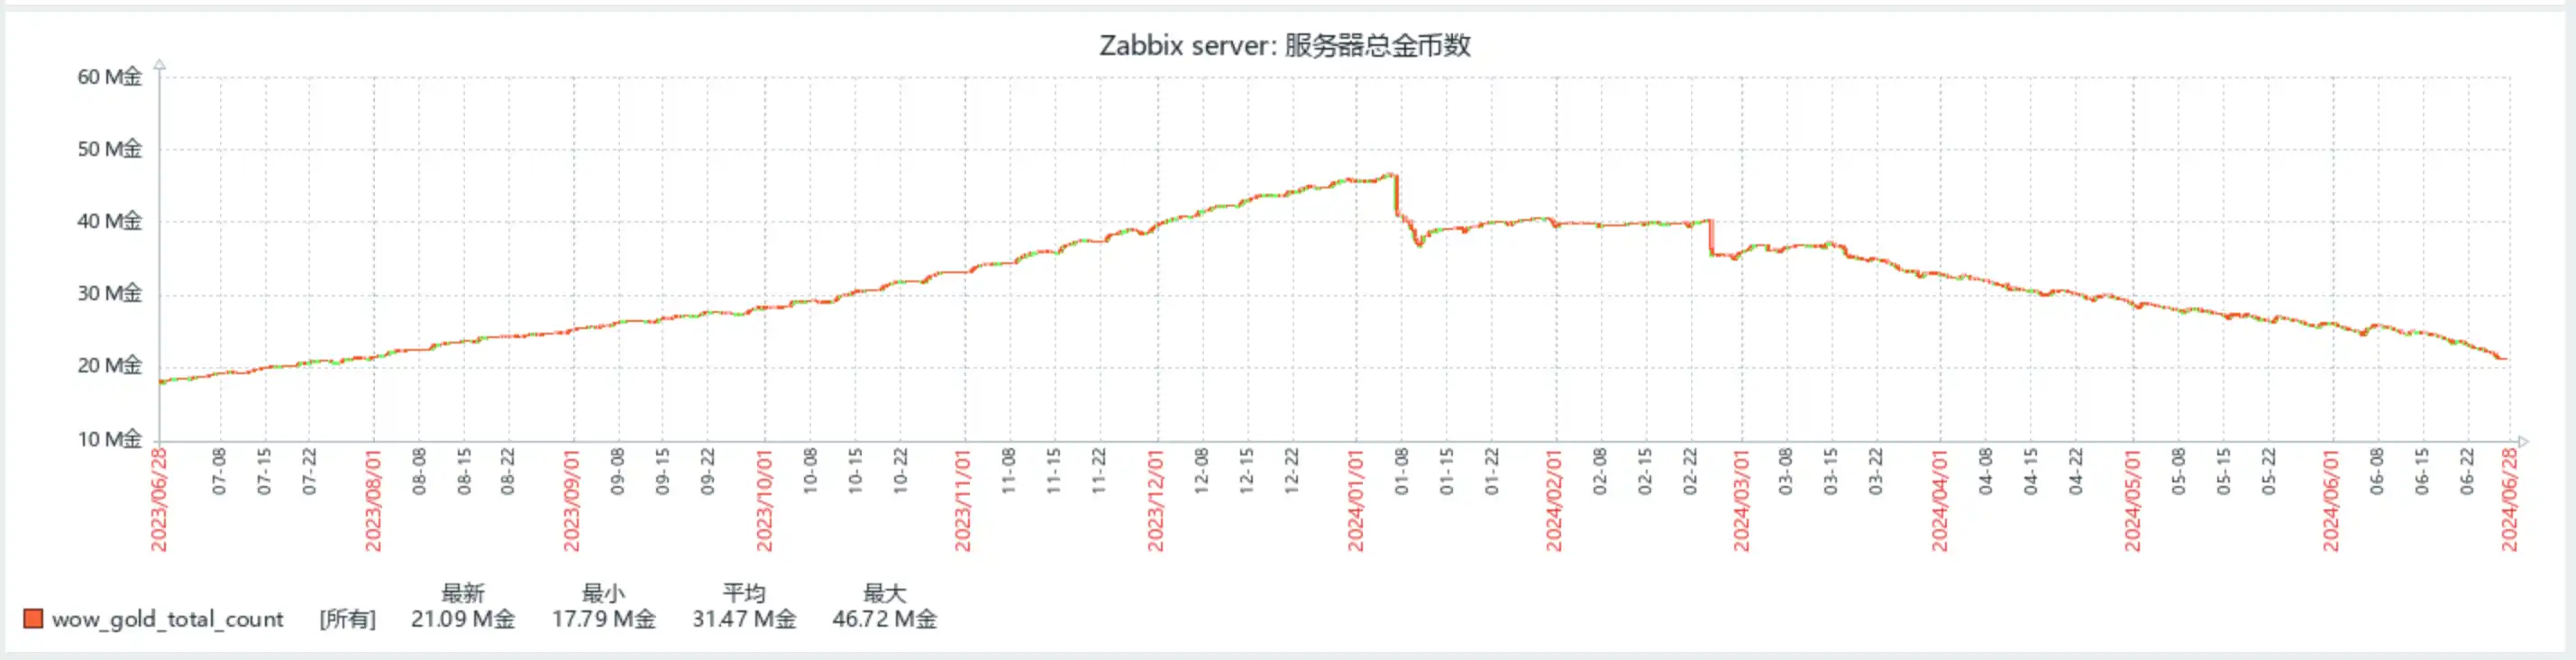
时间如白驹过隙,我们的服务器已经稳定运行了31个月,见证了血喉的崩坏与重铸。下面是zabbix记录的近1年服务器数据。
1、Ubuntu 20.04 TrinityCore 3.3.5 部署
TrinityCore的搭建,官方有详细的文档。
①.需要的依赖
sudo apt-get update
sudo apt-get ``install` `git clang cmake ``make` `gcc g++ libmariadbclient-dev libssl-dev libbz2-dev libreadline-dev libncurses-dev libboost-all-dev mariadb-server p7zip libmariadb-client-lgpl-dev-compat
sudo update-alternatives --``install` `/usr/bin/cc` `cc ``/usr/bin/clang` `100
sudo update-alternatives --``install` `/usr/bin/c``++ c++ ``/usr/bin/clang` `100
②.git源码及编译准备
cd ~/
sudo git clone -b 3.3.5 git://github.com/TrinityCore/TrinityCore.git
cd TrinityCore
sudo mkdir build
cd build
sudo cmake ../ -DCMAKE_INSTALL_PREFIX=/home/<username>/server  #<username>替换为自己的用户名
③.编译
这里耗时较长,建议使用screen单独开一个窗口。
sudo make -j <number of cores>  #自己设置CPU核心数
sudo make install
这步完成后会在/home/<username>/server/bin文件夹下生成运行文件,/home/<username>/server/etc目录下生成配置文件。将etc目录下的worldserver.conf.dist 和 authserver.conf.dist 分别复制一份成 worldserver.conf 和 authserver.conf。
在worldserver.conf内找到DataDir = "."改为DataDir = "/home/<username>/server/data"
④.提取客户端dbc、maps、vmaps、mmaps
这里耗时较长,建议使用screen单独开一个窗口。
官方文档中dbc和maps是必要的,vmaps和mmaps是强推荐的。
Some of them are optional, but highly recommended:
| Directory | Branch | |
|---|---|---|
| dbc | all | Mandatory |
| maps | all | Mandatory |
| vmaps | all | HIGHLY Recommended |
| mmaps | all | HIGHLY Recommended |
| cameras | all | Recommended |
| gt | master only | Mandatory |
这里需要将客户端先上传,假设上传路径为 /home/<username>/client
dbc&maps
cd /home/<username>/client
sudo /home/<username>/server/bin/mapextractor
sudo mkdir /home/<username>/server/data
sudo cp -r dbc maps /home/<username>/server/data
vmaps
cd /home/<username>/client
sudo /home/<username>/server/bin/vmap4extractor
sudo mkdir vmaps
sudo /home/<username>/server/bin/vmap4assembler Buildings vmaps
sudo cp -r vmaps /home/<username>/server/data
mmaps
cd /home/<username>/client
sudo mkdir mmaps
sudo /home/<username>/server/bin/mmaps_generator
sudo cp -r mmaps /home/<username>/server/data
官方文档中说明出现下面类似的结果代表成功。
When this is complete you may receive the following message which can be safely ignored.
Processing Map 724
[################################################################]
Extracting GameObject models...Extracting World\Wmo\Band\Final_Stage.wmo
No such file.
Couldn't open RootWmo!!!
Done!

Extract V4.00 2012_02. Work complete. No errors.
⑤.数据库设置
跑数据库之前修改配置文件/home/<username>/server/authserver.conf内的mysql的登录配置。
LoginDatabaseInfo = "127.0.0.1;3306;trinity;trinity;auth"
/home/<username>/server/worldserver.conf内修改
LoginDatabaseInfo = "127.0.0.1;3306;trinity;trinity;auth"
WorldDatabaseInfo = "127.0.0.1;3306;trinity;trinity;world"
CharacterDatabaseInfo = "127.0.0.1;3306;trinity;trinity;characters"
It follows this structure:
Variablename = "MySQLIP;Port;Username;Password;database"
各字段含义为Mysql的IP地址,Mysql的端口号,用户名,密码,数据库名。
下载官方的数据库建表模板
cd ~
sudo wget https://raw.githubusercontent.com/TrinityCore/TrinityCore/3.3.5/sql/create/create_mysql.sql

#登录mysql后

source /home/<username>/create_mysql.sql
建完表之后下载TDB_full_world_335._*.sql的数据库至/home/<username>/server/bin目录下。
该文件在TrinityCore项目中下载。
⑥.服务启动
开启认证服务
sudo /home/<username>/server/bin/authserver
开启游戏服务端
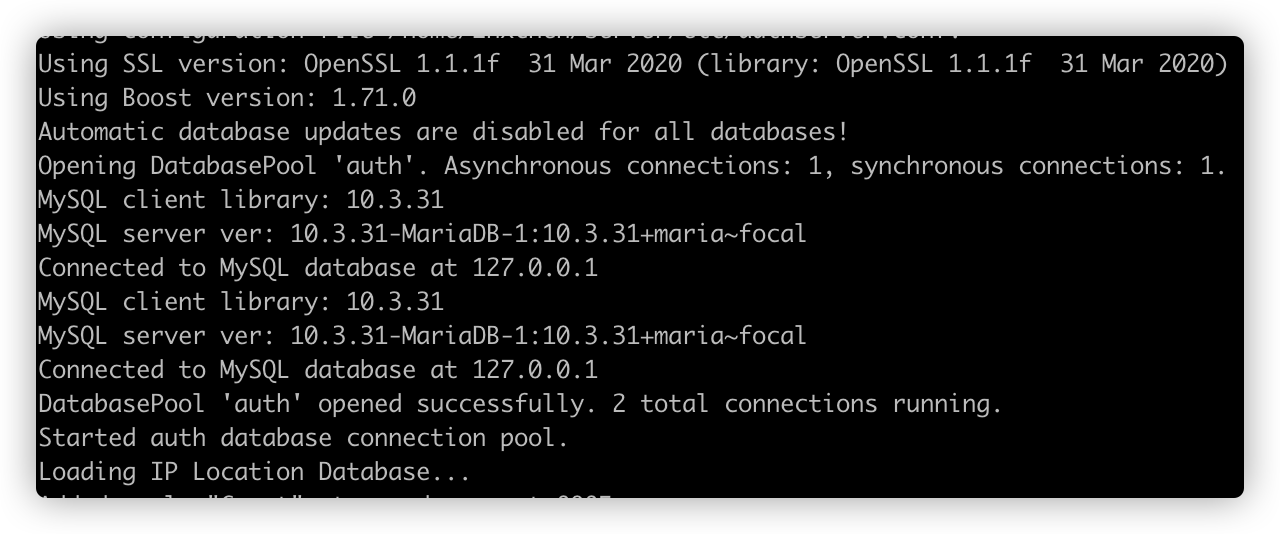
sudo /home/<username>/server/bin/worldserver
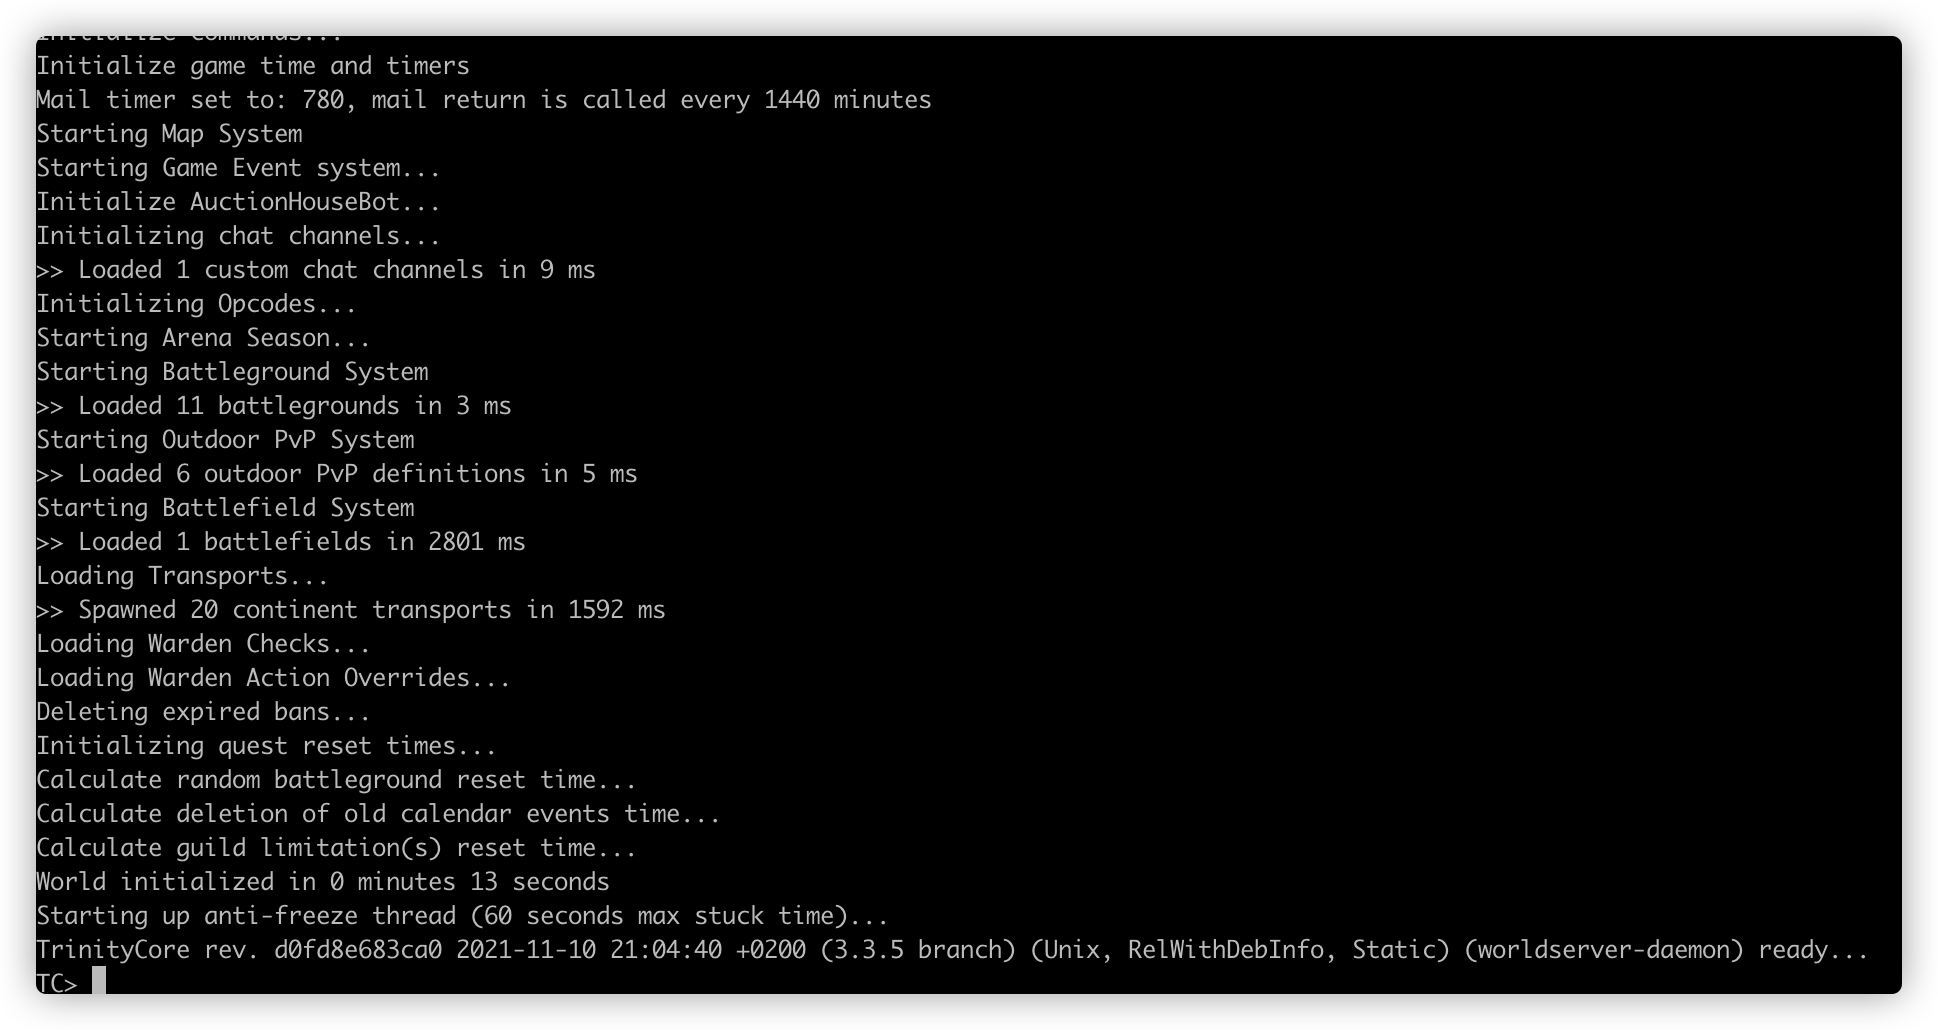
以上两个服务能够正常开启说明整个安装过程没有问题。
⑦.调试
设置服务器地址、游戏版本号等。
进入数据库auth>表realmlist
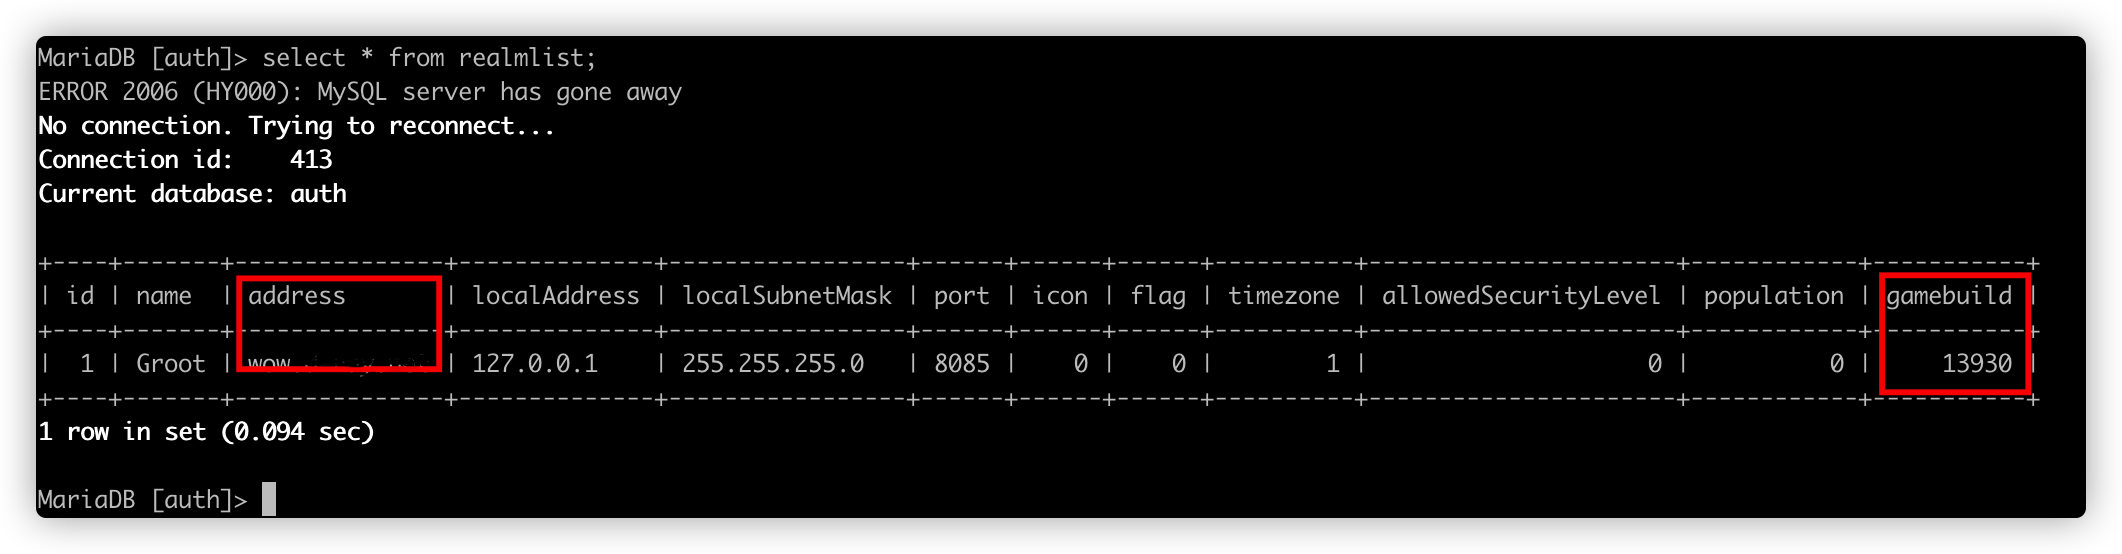
address列为连接游戏服务的地址,可以是IP也可以是域名。gamebuild为客户端版本号,这里常见的有台服12340和国服13930。
网络端口要放开3724authserver和8085worldserver。
任务汉化(可选)
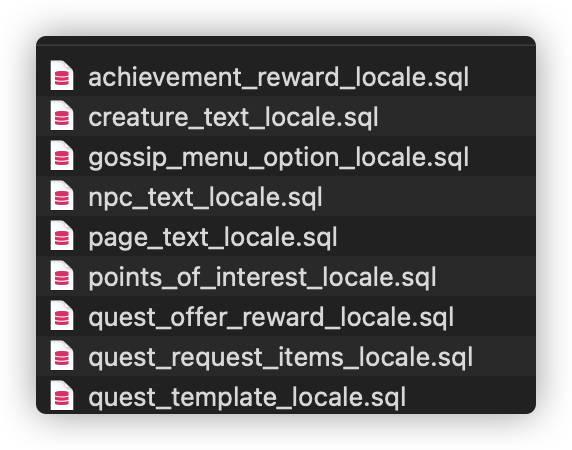
汉化数据库github搜一搜都能有,找到适合自己环境和版本的。进mysql跑一下source就行。
这些整完了把authserver服务和worldserver服务重新跑一遍。
⑧.客户端修改
魔兽客户端目录下Data\zhCN的realmlist.wtf文件内是否设置为SET realmlist "服务器IP或域名" (台服客户端为Data\zhTW)。
⑨.测试
进入worldserver后台创建账号,创建命令为account create <用户名> <密码>
完了打开客户端测试一下能不能进入魔兽世界吧。
2、通过WoWSimpleRegistration项目提供前端注册Web
WoWSimpleRegistration是TrinityCore官方fork项目。该项目基于php,提供简单的账号注册页面,支持市面上大多数开源Wow环境。
Support : AzerothCore, TrinityCore, AshamaneCore, CMangos.
Requirement : PHP >= 7.0
Enable gmp, gd, soap, mbstring, pdo and pdo-mysql.
首先安装php及相关依赖
这里建议使用PHP7.4版本,高版本存在500错误。
sudo apt install php7.4-fpm php7.4-opcache php7.4-cli php7.4-gd php7.4-curl php7.4-mysql php7.4-mbstring php7.4-gmp
添加/etc/php/7.4/fpm/pool.d/www.conf文件下的security.limit_extensions参数,解除限制 FPM 允许解析的脚本扩展名。
security.limit_extensions = .php .php3 .php4 .php5 .php7 .js .css .jpg .png .gif .html .htm
下载并解压WoWSimpleRegistration,可以到WoWSimpleRegistration这里找。
cd /var/www/html

sudo wget https://github.com/TrinityCore/WoWSimpleRegistration/archive/refs/tags/2.0.2.tar.gz

sudo tar -zxvf 2.0.2.tar.gz
安装nginx
sudo apt install nginx
增加nginx配置
cd /etc/nginx/conf.d/

sudo vi wow.conf
我的配置文件参考
server {
    listen  80;          # 监听端口
    server_name    _; # 自己PC的ip或者服务器的域名

		root /var/www/html/WoWSimpleRegistration-2.0.2;    # 文件路径
		index index.html index.htm index.php index.nginx-debian.html;
		location ~ \.php$ {
            include snippets/fastcgi-php.conf;
            fastcgi_pass unix:/var/run/php/php7.4-fpm.sock;
  	 }
}
修改WoWSimpleRegistration配置文件
cd /application/config

sudo cp config.php.sample config.php
对config.php进行配置,具体填什么选什么跟着注释走就行了。
比较重要的几个参数
Core Type:
0 = TrinityCore
1 = AzerothCore
2 = AshamaneCore
3 = Skyfire Project
4 = OregonCore
5 = CMangos
10 = etc
=====================================================================*/
$config['server_core'] = 0;   #TC选0(默认为0)


***************** GMP REQUIRED ********************
******Uncomment extension=gmp in your php.ini******
=====================================================================*/
$config['srp6_support'] = true; // READ COMMENTS, [Please ENABLE GMP]  #21年版本的TC都选true
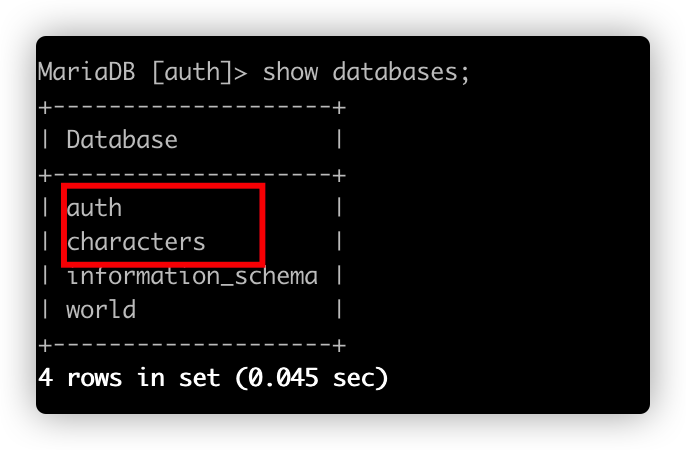
查一下数据库的db名称
/*===================================================================
You Auth/Realmd MySQL information.
db_auth_host
    Auth Database Host
db_auth_port
    Auth Database Port
db_auth_user
    Auth Database Username
db_auth_pass
    Auth Database Password
db_auth_dbname
    Auth Database DBName
=====================================================================*/
$config['db_auth_host'] = '127.0.0.1';
$config['db_auth_port'] = '3306';
$config['db_auth_user'] = 'root';
$config['db_auth_pass'] = 'root';
$config['db_auth_dbname'] = 'realmd'; #数据库的地址、端口、用户名、密码、db名称(TC为auth)
/*===================================================================
Your character's databases.
If your server has a lot of realms you can check the example at the bottom of the file.
=====================================================================*/
$config['realmlists'] = array(
    "1" => array(
        'realmid' => 1, // Realm ID
        'realmname' => "Realm 1", // Realm Name
        'db_host' => "127.0.0.1", // MySQL Host IP
        'db_port' => "3306", // MySQL Host Port
        'db_user' => "root", // MySQL username
        'db_pass' => 'root', // MySQL password
        'db_name' => "realm1_characters" // Characters database name  #db名称(TC为characters)
    )
);
配置好config.php文件后重启php-fpm和nginx,整个项目搭建完毕。